
Thinking about giving your kitchen a fresh new look without the cost of a full remodel? Working with cabinet painters could be your answer. If you’re wondering what the professional cabinet painting process really looks like, you’re in the right place. Understanding what to expect can help you prepare your home, ask the right questions, and make the most of your investment.
Key Takeaways:
- The process begins with an in-depth consultation and estimate.
- Proper prep work is the foundation of a long-lasting paint job.
- Professional cabinet painters follow a structured, step-by-step workflow.
- Drying and curing time is just as important as the painting itself.
- Clean-up, inspection, and follow-up ensure quality and satisfaction.

Why Homeowners Choose to Paint Their Cabinets
Cabinet painting is a cost-effective way to transform the look of your kitchen or bathroom. Instead of tearing out and replacing cabinetry, painting gives your existing cabinets a second life. It’s especially appealing to homeowners who want a style update without the long timeline or large budget required for a full renovation.
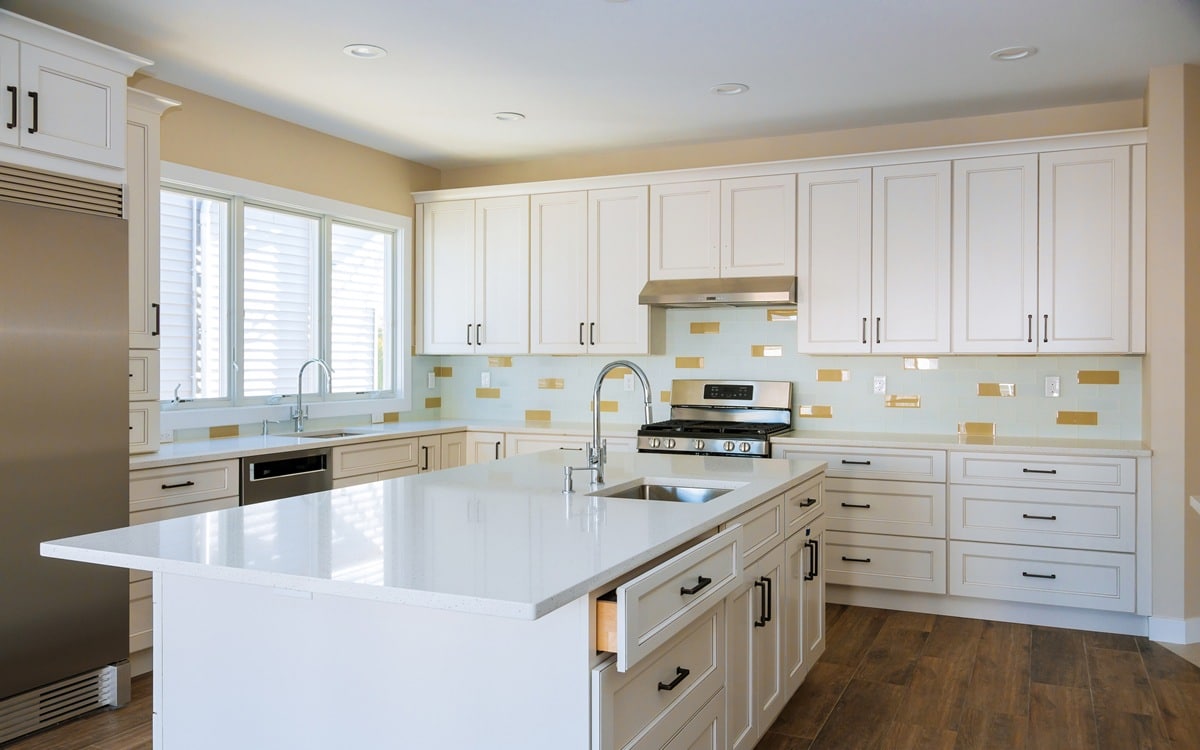
Painting also allows for endless color customization. Whether you’re dreaming of crisp white cabinets, bold navy blue, or a trendy two-tone look, cabinet painting delivers results without compromise.
Step 1: The Initial Consultation and Estimate
The professional cabinet painting process always starts with a consultation. A trusted company will come to your home, take measurements, inspect the condition of your cabinets, and discuss your goals. They’ll help you choose finishes, colors, and timelines.
You should expect a written estimate that includes:
- Labor and material costs
- Prep work involved
- Estimated duration of the project
- Warranty or guarantee information
This is the perfect time to ask questions about the process, products used, and how the painters will protect your home during the job.
Step 2: Removing and Labeling Cabinet Doors and Hardware
Before painting begins, cabinet painters remove all cabinet doors, drawers, and hardware. Every piece is labeled carefully to make reinstallation seamless later on.
Your painters may do the painting off-site in a controlled environment, or they may set up a temporary spray booth in your garage or a separate room. Either way, expect your kitchen to be partially out of commission for several days.
Step 3: Surface Preparation (Where the Magic Happens)
This is the most labor-intensive step, but it’s also the most important. Great prep leads to flawless results.
Prep work includes:
- Cleaning the surfaces to remove grease and grime
- Sanding to scuff the surface for better paint adhesion
- Filling any dings, scratches, or cracks with wood filler
- Masking off surrounding areas with plastic and painter’s tape
If you skip this part or rush through it, the paint won’t bond well, and the finish will chip easily over time.
Step 4: Priming and Painting
With prep complete, it’s time to prime. Primer creates a uniform base, seals the wood, and ensures smooth paint application.
Cabinet painters use high-quality primers and paints designed specifically for cabinetry. These aren’t your average wall paints. They’re made to withstand moisture, heat, and frequent cleaning.
Once priming is done, the painters apply multiple thin coats of paint—usually with a sprayer for the smoothest finish. They allow proper drying time between coats to prevent drips and ensure durability.
Common finish options include:
- Satin (a popular choice for its clean, modern look)
- Semi-gloss (durable and easy to clean)
- Matte (great for a more subtle, trendy vibe)
Step 6: Final Inspection and Touch-Ups
Before the job is officially complete, the painters will do a walk-through with you. This is your opportunity to inspect the work and point out any areas you want addressed.
Professional cabinet painters often include a touch-up kit with leftover paint in case you need it later. They’ll also provide care instructions to help maintain the finish over time.
How Long Does the Cabinet Painting Process Take?
The total timeline varies depending on the size of your kitchen and the complexity of the job, but here’s a rough breakdown:
- Consultation and planning: 1 day
- Prep and removal: 1–2 days
- Painting and drying: 3–5 days
- Curing and reassembly: 2–3 days
Most projects are completed within 7 to 10 business days.
How to Prepare Your Home for Cabinet Painting
To make the process smoother, here are a few homeowner prep tips:
- Empty cabinets and drawers before painters arrive
- Clear countertops and remove valuables
- Set up a temporary kitchen space if needed
- Communicate with the crew about pets, kids, and daily routines
Being proactive helps the job move faster and avoids any accidental damage.
Is Hiring Cabinet Painters Worth It?
If you want professional results without the mess and trial-and-error of a DIY project, absolutely.
Hiring experienced cabinet painters ensures:
- A durable, factory-like finish
- Time saved from doing it yourself
- Professional-grade products and techniques
- Peace of mind with warranties and follow-up care
Plus, painted cabinets can increase your home’s value and appeal to future bu
Final Thoughts
Now that you know what to expect during the professional cabinet painting process, you can confidently move forward with your project. Whether you’re upgrading to sell or just want to enjoy a more stylish space, painted cabinets are a smart, cost-effective way to elevate your kitchen.
Want to work with a trusted team of cabinet painters who handle everything from prep to clean-up with professionalism and care? Give PaintPaul LLC a call at 360-502-2381 today to schedule your consultation. Let’s bring your dream kitchen to life!