You’re standing in the paint aisle, staring at rollers and brushes, wondering which one will actually give you the results you want. It’s the same question interior house painters get asked all the time. And honestly, it’s a question that trips up a lot of homeowners. Choosing a paint roller or brush for walls isn’t about picking your favorite—it’s about matching the right tool to the right job. Get it wrong, and you’ll spend twice as long fixing streaks, drips, and uneven coverage. Get it right, and your walls will look like a professional painted them.
The truth is, most painting projects need both tools. But knowing when to reach for each one makes all the difference between a frustrating weekend and a room you’re proud to show off.
Key Takeaways:
Why the Right Tool Matters More Than You Think
Here’s what happens when homeowners grab the wrong tool for the job: they end up with brush marks on their walls or roller lines on their trim. Then they spend hours trying to fix mistakes that didn’t need to happen in the first place.
Choosing the right tools has a direct effect on how long a paint job holds up. When paint goes on unevenly, it wears unevenly. That means touch-ups sooner and full repaints faster than you’d expect.
The good news? Once you understand what each tool does best, you’ll never second-guess yourself at the hardware store again.
When to Use a Paint Roller
Paint rollers are workhorses. They’re designed to cover large areas quickly and evenly. If you’re painting walls, ceilings, or any flat surface bigger than a few square feet, a roller is your best friend.
Large Wall Surfaces
Rollers hold more paint than brushes. A standard 9-inch roller can cover about 80 to 100 square feet per gallon of paint. That’s roughly the size of a 10×10 room’s walls. Try doing that with a brush, and you’ll be painting for days.
The roller’s design also creates a consistent texture across the surface. When you roll paint onto a wall, you get an even layer without the brush strokes that come from bristles dragging through wet paint.
Ceilings
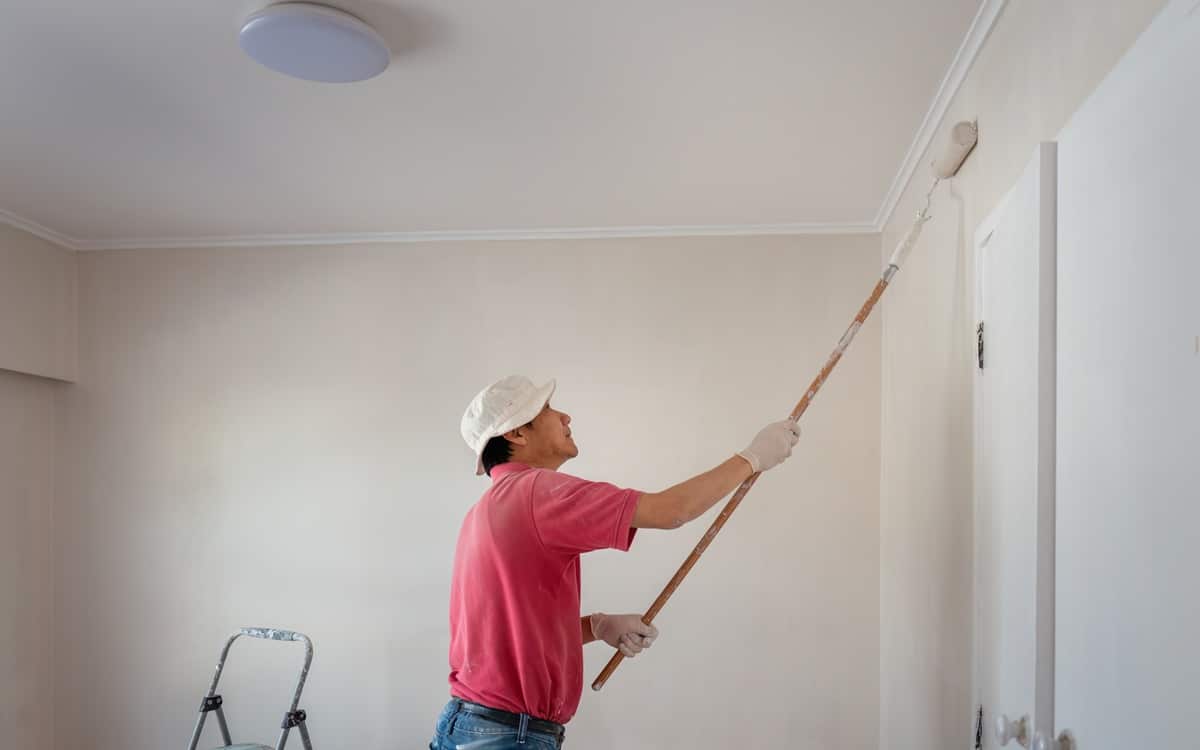
Ceilings are almost always roller territory. The flat, uninterrupted surface is perfect for a roller’s strengths. Plus, using an extension pole with your roller means less time on a ladder and less strain on your neck and shoulders.
Textured Walls
If your walls have any texture—orange peel, knockdown, or popcorn—a roller with the right nap thickness will push paint into all those little grooves and bumps. A brush just can’t get into those spaces the same way.
For smooth walls, use a 3/8-inch nap roller. For light texture, go with 1/2-inch. For heavy texture, you’ll want 3/4-inch or even 1-inch nap.

When to Use a Paint Brush
Brushes are precision tools. They give you control that rollers simply can’t match. Any time you need accuracy over speed, reach for a brush.
Cutting In Edges
“Cutting in” is painter-speak for painting the edges where walls meet ceilings, corners, and trim. This is brush work, no question. A quality angled brush lets you paint a clean, straight line right up to the edge without getting paint where it doesn’t belong.
Most painters cut in all the edges of a room first, then go back and roll the large areas. This gives you a professional-looking result without tape marks or sloppy lines.
Trim, Doors, and Windows
Baseboards, crown molding, door frames, and window casings all need brush work. These areas are too small and detailed for a roller. The bristles of a good brush let you work paint into grooves and corners that a roller would miss completely.
For trim work, a 2-inch or 2.5-inch angled brush gives you enough coverage to work efficiently while still maintaining control.
Touch-Ups and Small Areas
Need to fix a scuff mark or paint a small patch? A brush is the only practical choice. Pulling out a roller for a 6-inch repair would be overkill—and you’d probably create more problems than you solve.
Furniture and Cabinets
If you’re painting furniture, cabinet doors, or shelving, brushes give you the control you need to avoid drips and runs. Some painters prefer foam rollers for cabinet faces, but edges and detailed areas still need brush work.
Paint Roller or Brush for Walls: What the Pros Actually Do
Professional painters don’t choose one tool over the other. They use both, strategically.
Here’s the typical process for painting a room:
- Prep the room – Move furniture, lay drop cloths, tape off areas if needed
- Cut in with a brush – Paint a 2-3 inch border around all edges, corners, and trim
- Roll the walls – Cover the large flat areas with a roller while the cut-in paint is still wet
- Work in sections – Complete one wall at a time to keep a “wet edge” and avoid lap marks
- Touch up with a brush – Fix any missed spots or imperfections after the first coat dries
This approach combines the speed of a roller with the precision of a brush. It’s how the pros get rooms done fast without sacrificing quality.
Common Mistakes to Avoid
Using a Cheap Roller
Bargain rollers shed fibers into your paint. Those little fuzzies dry right into your finish, leaving bumps and rough spots you’ll feel every time you run your hand across the wall. Spend a few extra dollars on a quality roller cover. Your walls will thank you.
Choosing the Wrong Brush Bristles
Brushes come in natural bristle and synthetic bristle varieties. Natural bristles are made from animal hair and work best with oil-based paints. Synthetic bristles (usually nylon or polyester) work better with latex and water-based paints.
Use the wrong type, and you’ll get poor coverage and a brush that falls apart before the job is done.
Overloading Your Tools
Whether you’re using a roller or brush, more paint isn’t always better. Overloaded rollers drip and splatter. Overloaded brushes leave runs and thick spots.
Dip your roller about halfway into the paint tray, then roll it back and forth on the tray’s ramp to distribute the paint evenly. For brushes, dip about a third of the bristle length, then tap (don’t wipe) the excess off on the side of the can.
Rushing the Job
Painting takes patience. When you rush, you miss spots, create lap marks, and end up with an uneven finish. Work in manageable sections. Let coats dry fully before adding another. The time you “save” by rushing usually gets spent on repairs and second coats anyway.
How to Get a Smooth Finish Every Time
The secret to smooth walls isn’t just tool selection—it’s technique.
With a roller, use a “W” or “M” pattern to spread paint across a 3-foot section, then go back over the area with light, even strokes in one direction. This fills in gaps and evens out the coverage.
With a brush, work in smooth, overlapping strokes. Don’t go back over areas that have started to dry—you’ll leave marks in the finish.
And always paint from a dry area into a wet area. This keeps your edges blended and prevents visible lines where sections meet.

Should You DIY or Hire a Pro?
Some homeowners love the satisfaction of a DIY paint job. Others would rather spend their weekend doing anything else. Both are valid choices.
If you’re comfortable with ladders, have the time to prep properly, and don’t mind the learning curve, DIY painting can save money. A gallon of quality paint runs $30 to $60. Rollers and brushes might add another $20 to $50. For a single room, you could be done for under $150 in materials.
But there’s a reason professional painters stay busy. They bring experience that shows in the final product. They know how to prep surfaces so paint adheres properly. They work faster because they’ve done it thousands of times. And they have the tools and equipment to handle tricky situations—high ceilings, detailed trim, repairs that need attention before paint goes on.
For one small room, DIY might make sense. For a whole house, or for rooms with high ceilings, lots of trim, or walls that need repair work, hiring a pro often delivers better results with less stress.
The Bottom Line on Rollers and Brushes
Choosing a paint roller or brush for walls isn’t an either/or decision. It’s about using each tool where it works best.
Rollers win on large, flat surfaces. They’re faster, hold more paint, and give you even coverage without brush marks.
Brushes win on edges, corners, trim, and detail work. They give you precision and control that rollers can’t match.
Use them together, and you’ll get results that look professional—whether you’re doing the work yourself or checking up on a crew you hired.
Ready to Get Your Walls Looking Their Best?
Maybe you’re excited to tackle this project yourself. Or maybe you’ve read this far and decided your time is better spent somewhere else. Either way, we’re here to help.
At PaintPaul LLC, we’ve painted thousands of walls for homeowners just like you. We show up on time, prep the space right, and leave you with walls that look amazing. No streaks. No drips. No stress.
Give us a call at 360-502-2381 to get a free estimate. We’ll walk through your project together and give you an honest recommendation—even if that means telling you this one’s a good DIY job.
Your home should make you feel proud. Let’s make that happen.